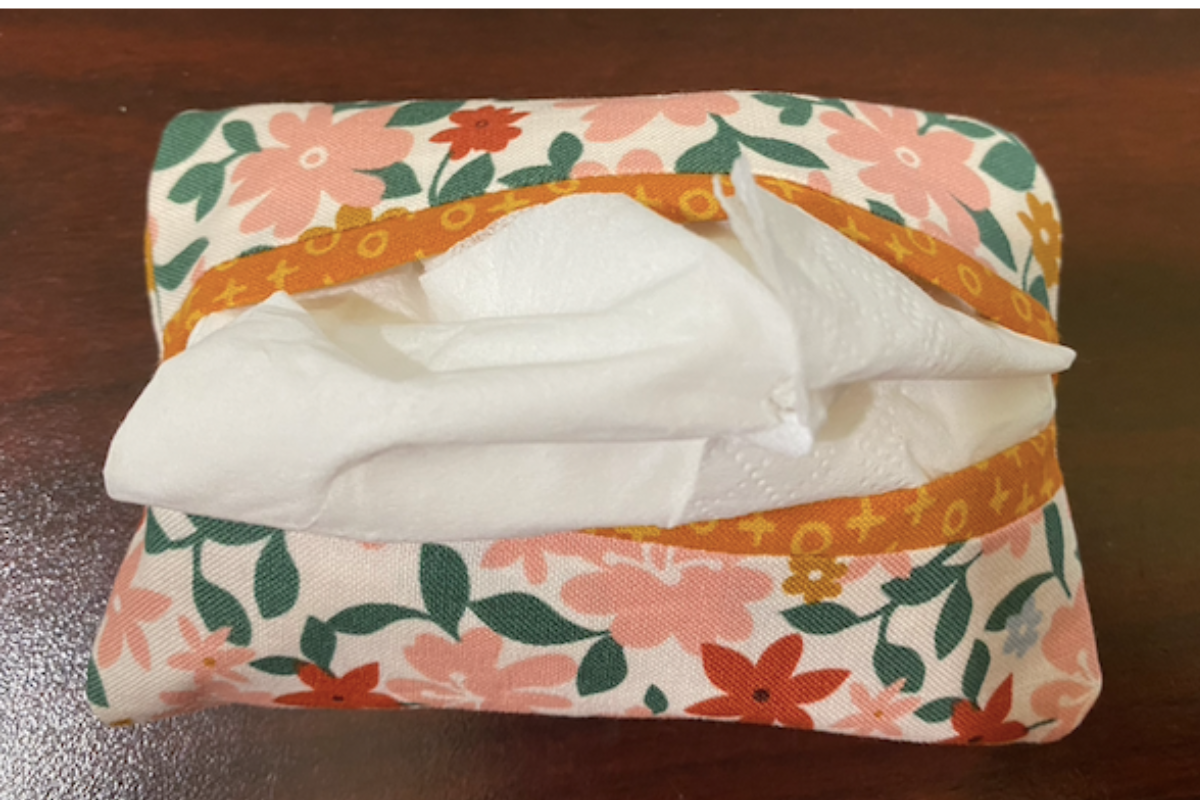
Tissue Holder Pattern
This tissue holder pattern is super simple. I did make a goof and loved how it turned out but to have the contract, I am giving you the correct directions below. If you end up with a happy goof it is totally fine.
If you love quick sewing projects that make everyday life a little easier, this tissue holder pattern is about to become your new favorite scrap-buster. There’s something incredibly satisfying about turning two small pieces of leftover fabric into something practical, cute, and gift-worthy in just 15 minutes. Whether you’re trying to use up that growing pile of fabric scraps, need a last-minute handmade gift, or simply want a fast and satisfying sewing win, this easy tissue holder checks every box.
One of the best things about simple sewing projects is how approachable they are. Not every project needs yards of fabric, complicated measurements, or an entire afternoon set aside to finish. Sometimes the most useful makes are the ones you can complete during a coffee break. This DIY tissue holder is exactly that kind of project—quick, beginner-friendly, and genuinely useful.
If you’ve been holding onto favorite fabric remnants because they’re “too pretty to toss,” this is the perfect excuse to use them. Since this pattern only uses two pieces of scrap fabric, it’s ideal for making the most of leftovers from quilting, sewing garments, home décor projects, or other fabric crafts. Mix coordinating prints, pair solids with florals, or create seasonal versions for holidays and gifts. The possibilities are endless, and because the fabric requirements are so small, you can get creative without worrying about waste.
Handmade tissue holders are one of those little luxuries that make everyday routines feel a bit more polished. Instead of tossing a travel-size tissue pack into your purse, car console, diaper bag, or desk drawer as-is, you can slip it into a soft fabric cover that adds both style and durability. They’re practical, reusable, and much prettier than disposable packaging.
This tissue holder sewing pattern is also perfect for beginners. If you’re new to sewing and looking for an easy confidence-building project, this is a fantastic place to start. With simple straight seams and minimal cutting, you can practice basic sewing skills while creating something you’ll actually use. More experienced sewists will love how quickly these come together, making them ideal for craft fairs, stocking stuffers, teacher gifts, or charity sewing projects.
Because this project takes about 15 minutes from start to finish, it’s also a great “instant gratification” sew. There’s no long list of supplies, no complicated construction, and no frustration when you just want to sit down and make something cute. Just grab two fabric scraps, your sewing machine, and a few basic notions, and you’ll have a finished tissue holder before you know it.
So if you’re ready for a fast, functional, and fun sewing project, this easy tissue holder pattern is the perfect choice. Quick to make, beginner-friendly, and a wonderful way to use up scrap fabric, it’s one of those simple projects you’ll find yourself making again and again.
Supplies Needed for Tissue Holder Pattern
I have added the sewing basics that you can pick up at your local Walmart or have it sent directly to your home. Many Walmarts also deliver if you have Walmart +
Video Instructions
Written PDF
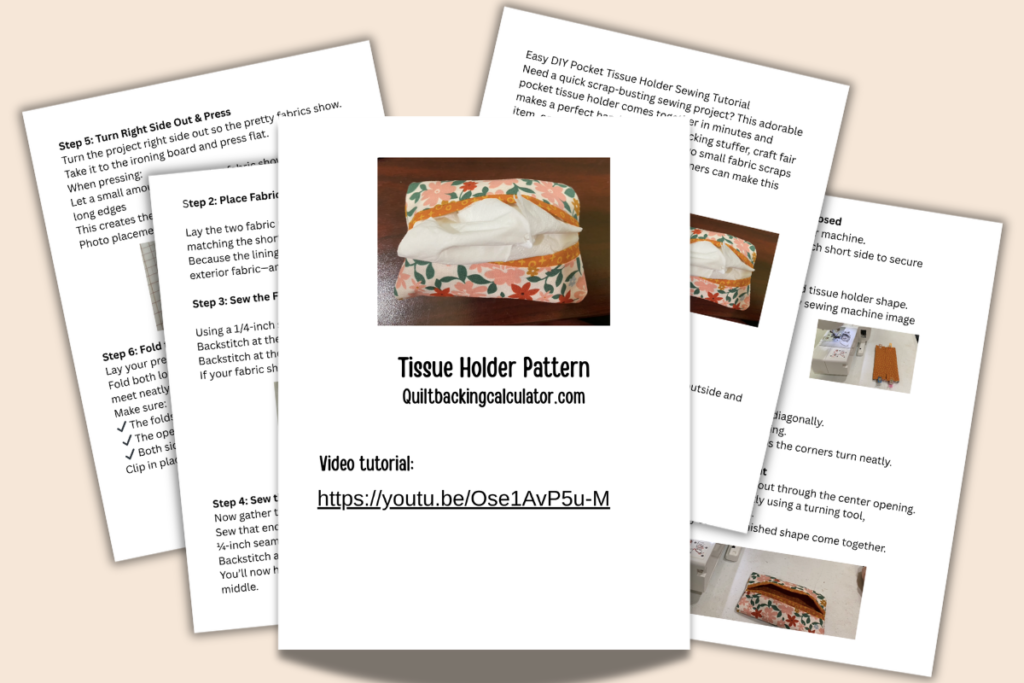
The PDF is full of photos and tips to help you make this quickly. This tissue holder pattern is so great for gifts or a craft fair.
Instructions:

- Cut one rectangle from your exterior fabric measuring 5½” x 6½”.
Note: If you are using directional fabric, make sure and adjust that for your finished piece.
- Next, cut one rectangle from your lining fabric measuring 5½” x 7½”.
- With right sides together sew your shorter 5.5″ sides together using a 1/4″ seam allowance. There will be a gap
- Turn your fabic so that the right sides are showing and press making sure your lining has equal width on both sides.
- Find the middle of your piece and mark it with a fabric marker
- Fold your Lining to the middle on both sides and clip it so it stays in place.
- Do the same for the other side
- Sew each side 1/4″ seam allowance, clip your corners and turn.
You now have a finished tissue Holder pattern. Such a simple project that is so great for using up your scrap fabrics from leftover quilt patterns. If you still have scraps grab them and make this scrap fabric coaster.