Memory Quilt Block
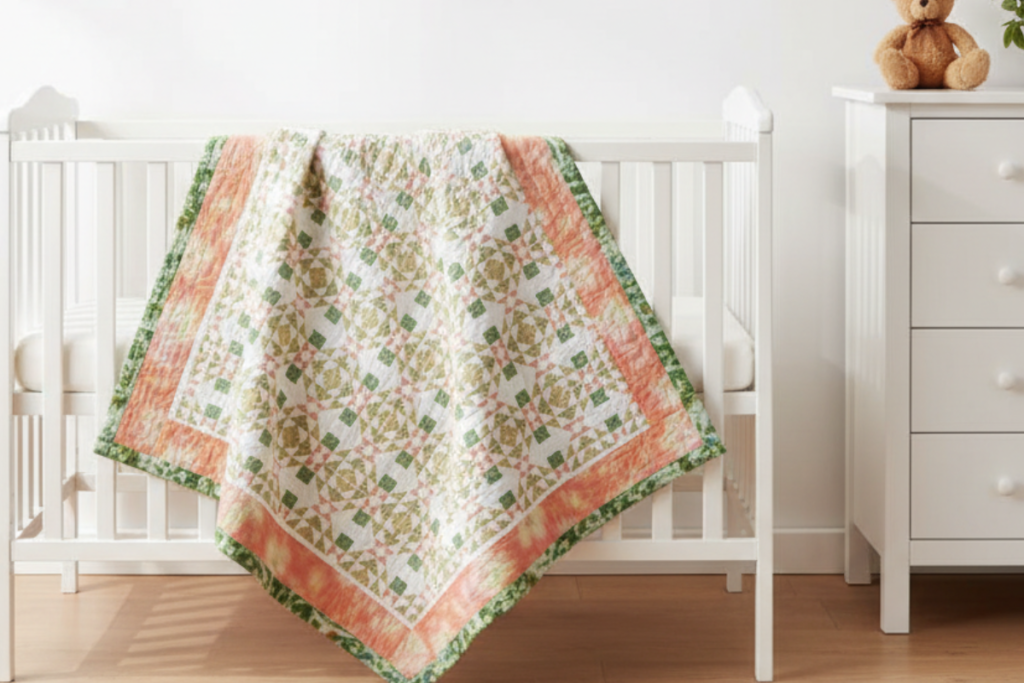
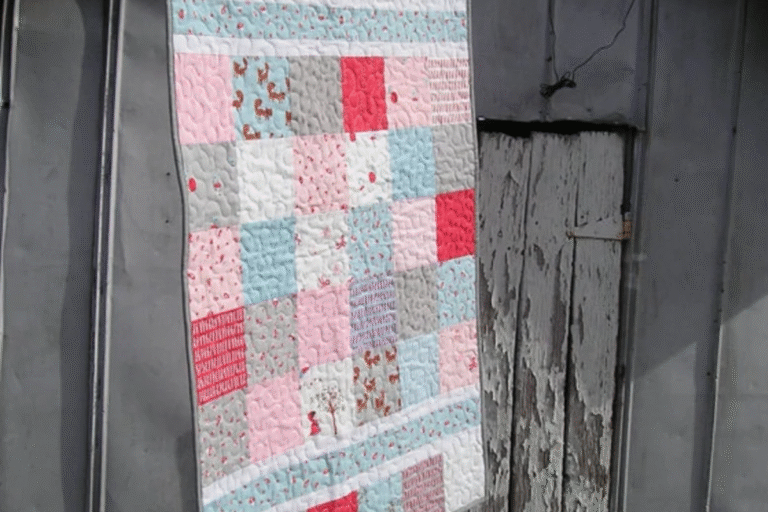
A memory quilt block can be made with old clothing from a child or maybe a loved one that has passed away. The quilt block measures 10 x 10″ and I chose fabric from Fat Quarter Shop.

Fabric Giveaway
Each month I give away fabric. You simply answer the question I ask in email to be entered
Table of Contents
Fabrics Needed:

If you are using clothing from a loved one the tip I can give you is to wash it but DO NOT use softener. Simply wash and dry and cut your fabrics. However, if you don’t have fabric I love Fat Quarter shop for fabric. They always have a great sale.
- White: 2 – 3.5″ squares, and 8 – 3″ squares
- Light/Print: 2 – 2.5″ squares
- Green Fabric #1 (forgot to put on graphic): 4 – 3″ squares
- Orange: 2 – 3.5″ squares
- Green Fabric 2: 4 – 3″ squares
- White: 1 – 2.5″ x 6.5″ rectangle
Sew your Memory Quilt block
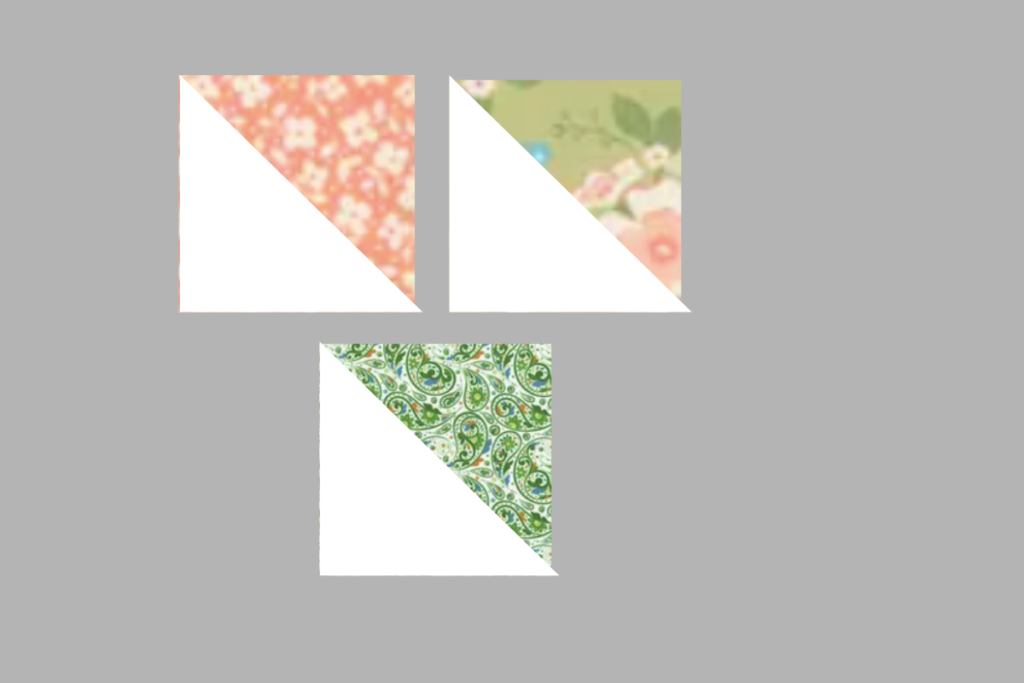
Half-Square Triangle Units
Step 1:
Pair one Light/White 3.5″ square with one green fabric #2 3.5″ square, right sides together
On the wrong side of the Light/White square, draw a diagonal line from corner to corner. Sew a seam 1/4″ (or slightly less) on each side of the drawn line.
Cut directly along the marked diagonal to create two half-square triangle units. Open each unit and press the seam allowance toward the green fabric.
Trim each unit to measure 2.5″ square.
Step 2:
Repeat Step 1 until you have a total of eight White/green half-square triangle units.
Step 3:
Repeat the steps in #1 using your other green fabric. Remember, you can always change the colors of your memory quilt block.
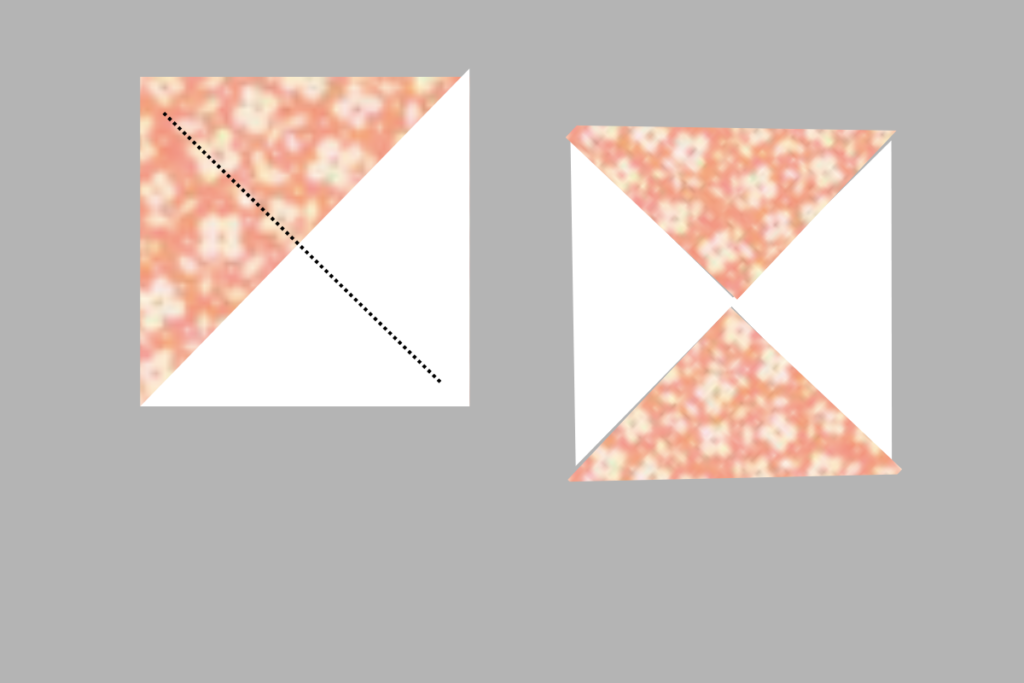
Hourglass Units:
Step 4:
Using the two Light/White 3.5″ squares and the two orange 3.5″ squares, follow Step 1 to make four half-square triangle units. Do not trim these units.
Step 5:
On the back of one unit, draw a diagonal line from corner to corner that is perpendicular to the existing seam. Pair two units with right sides together, nesting the seam allowances. Sew a 1/4″ seam on each side of the marked line, then cut along the line.
Step 6:
Open up the Step 5 units and press the seam allowances. I have included a photo above so you can see which way to press your seam allowances in this memory quilt block.
Step 7:
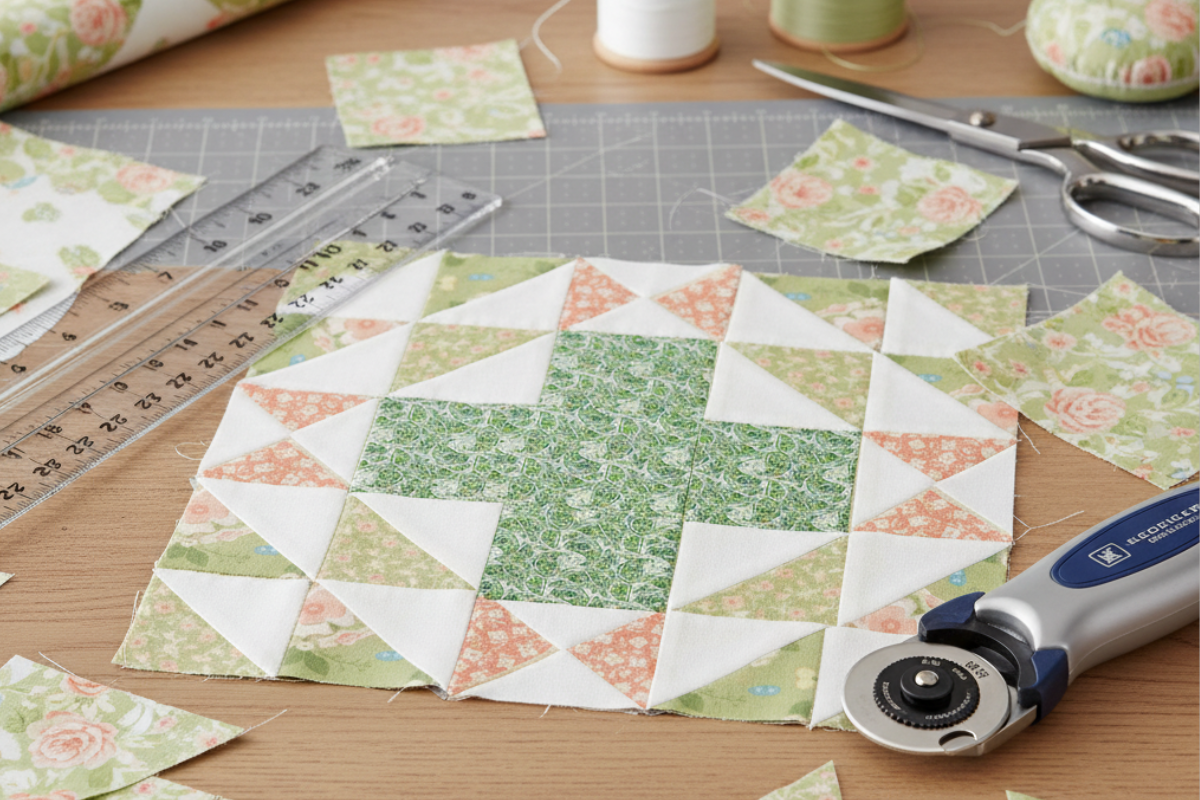
Repeat Steps 5 and 6 for a total of four Hourglass units like the ones you see in the quilt mock up.
Assemble Your Quilt block

Lay out your pieces as you can see above. Go ahead and sew each row using a 1/4″ seam allowance. Press your seam allowance AWAY from the hourglass.
After you have all your rows sews, go ahead and sew your rows together. if you are making a quilt with this block and wanted the seams to nest, I would suggest pressing half the blocks with the seam allowances going away from the center of the block.
Easy Memory Quilt Pattern