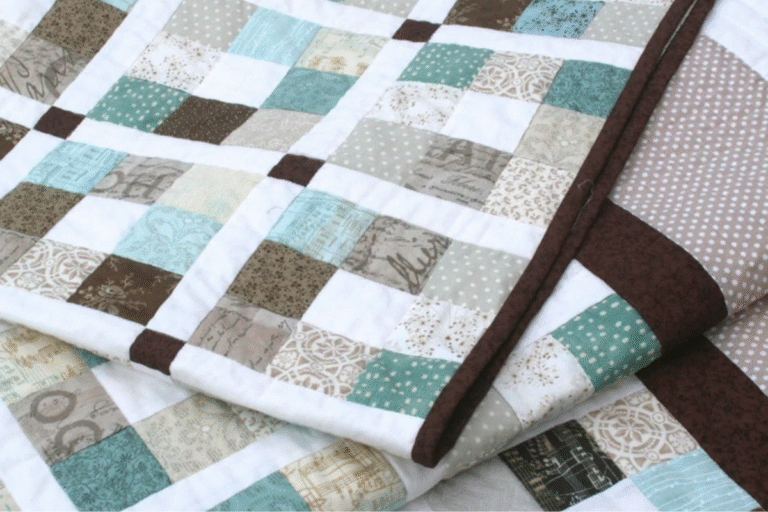
Free Rag Quilt Pattern
I think this beginner free rag quilt pattern is a must for anyone who wants to make a quilt but is afraid to try. This lap quilt pattern is a great gift or donation to your favorite non profit.
Enter the Fabric Giveaway
I have linked Fat Quarter shop as they have a daily special on fabric.
Table of Contents
Supplies For Rag Quilt
- 20 Squares of 14×14″ Fabric for front
- 20 squares of 14×14 Fabric for back
- 20 Batting squares 12.x12″
- Spray Adhesive
- Walking foot
- Magnetic seam guide
- Snipping Shears (for fraying fabric)
You should be able to get 6 squares out of a yard of fabric. You can mix and match your scrap fabric or buy coordinating fabrics to make your quilt.
Directions for Free Rag Quilt Pattern
Cut all your squares. I make piles of my front fabric, back fabric and batting. I will do that at night while I watch a movie but you will find it easier to put together when you cut all your pieces out.
Sandwich your pieces with the bottom right side DOWN, Batting and then your front piece with right side UP. I spray my batting and top piece to the batting to keep it from shifting.
You can use your pins or clips to hold your fabric in place and if you need the line, use your marking pen to draw your diagonals.
Sew your Squares
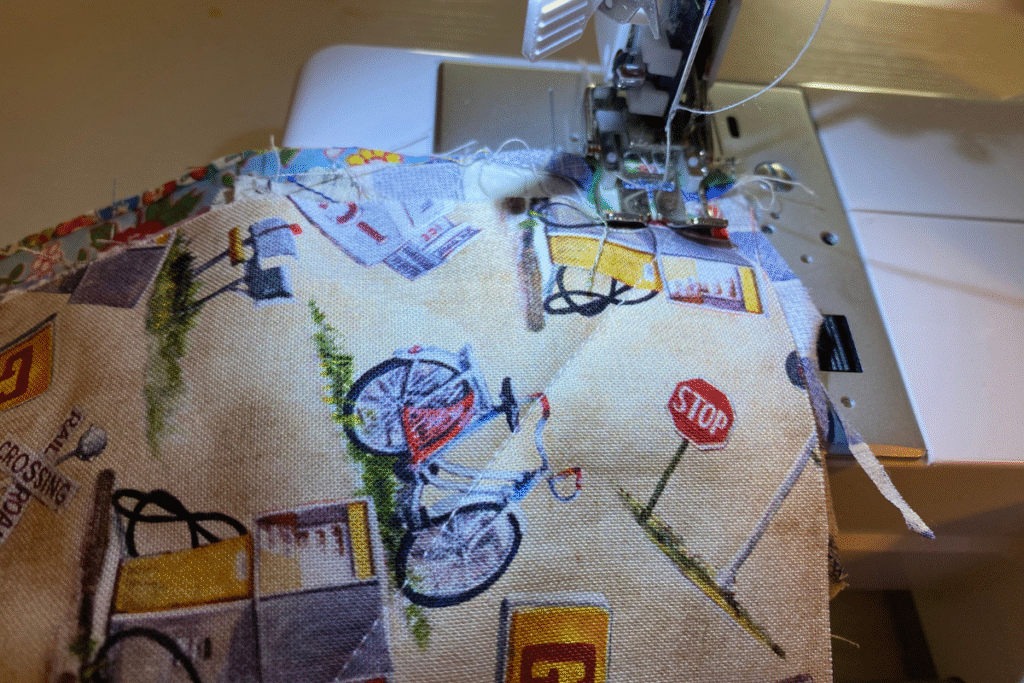
Next you will sew a cross. I like to chain stitch these. That means I sew all the pieces going one direction and then cut your threads. You will then go the other direction.
You will next need to arrange all your pieces. You can use your floor or a bed to arrange and then sew a row at a time using 1/2-3/4″ seam allowance. You will sew each piece with the WRONG SIDES TOGETHER.
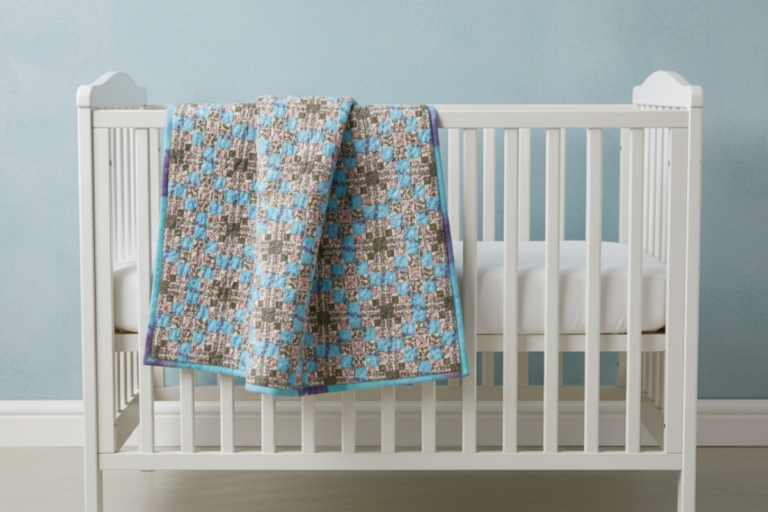
The lap quilt I made is 4 blocks wide and includes 5 rows..
Once your rows are finished go ahead and iron open your seams. I use steam on the seams to help keep them open.
Connect Your Rows
Now you are going to connect your rows. You are doing the same you did above. With WRONG SIDES Together sew your rows together. Make sure your seams are open using your clips. Go slow and definitely use a walking foot. Double check that you are catching all 4 fabrics. You would rather have to add another row vs not catching your seams.
Sew Around Your Rag Quilt
You will pray all your edges of your free rag quilt pattern so make sure and sew a 1/2″ seam all the way around your quilt. Again, make sure your seams are open and laying flat.
Finish Your Rag Quilt
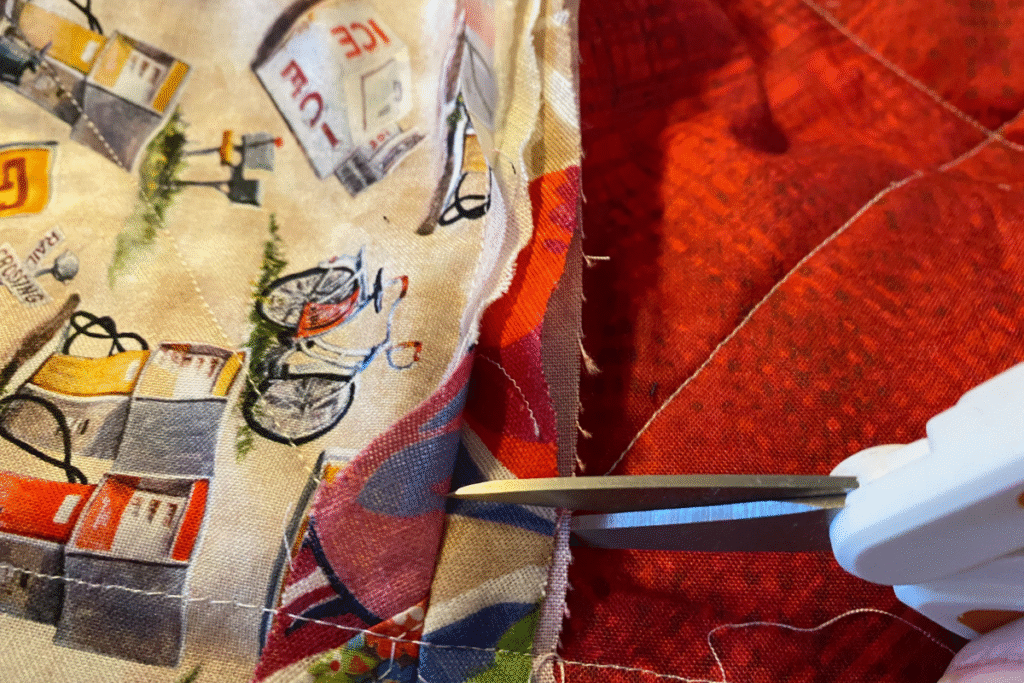
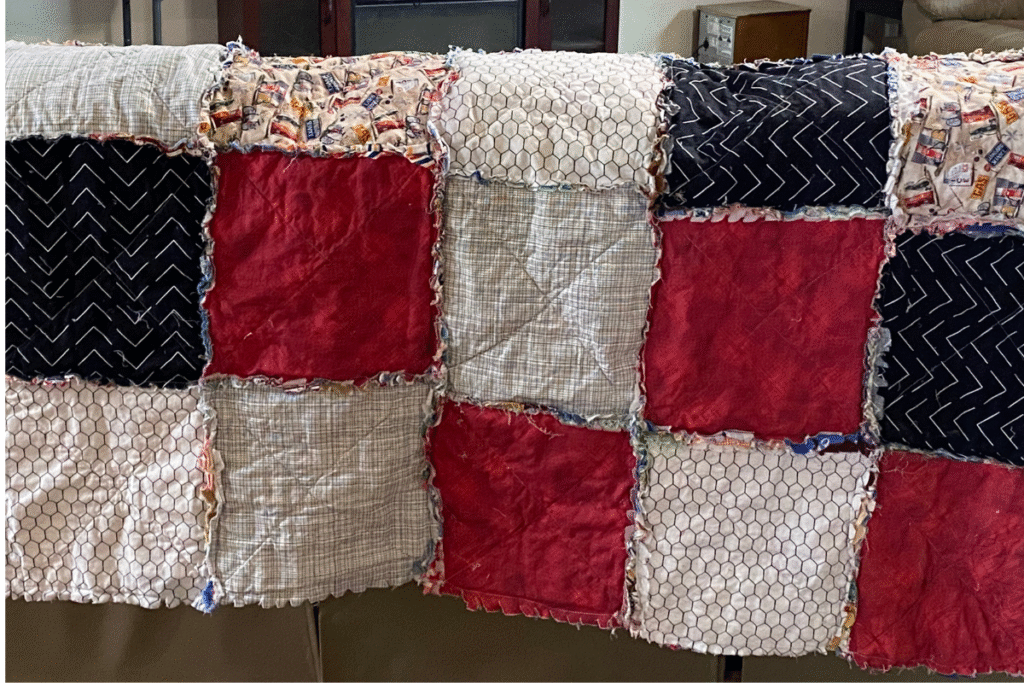
Take your Snipping scissors (regular scissors usually don’t work) and snip every seam. Make sure you don’t cut through your seams.
Now you will take your finished quilt and wash 1-3 times. It will become the rag look and your free rag quilt pattern is finished.